THE STICKERROAR GUIDE
Measuring a Car Sticker Before You Order
Measure the usable width and height for your car sticker. Compare 3, 5 and 8 inch examples, make a paper mockup and check the size control before ordering.
Updated
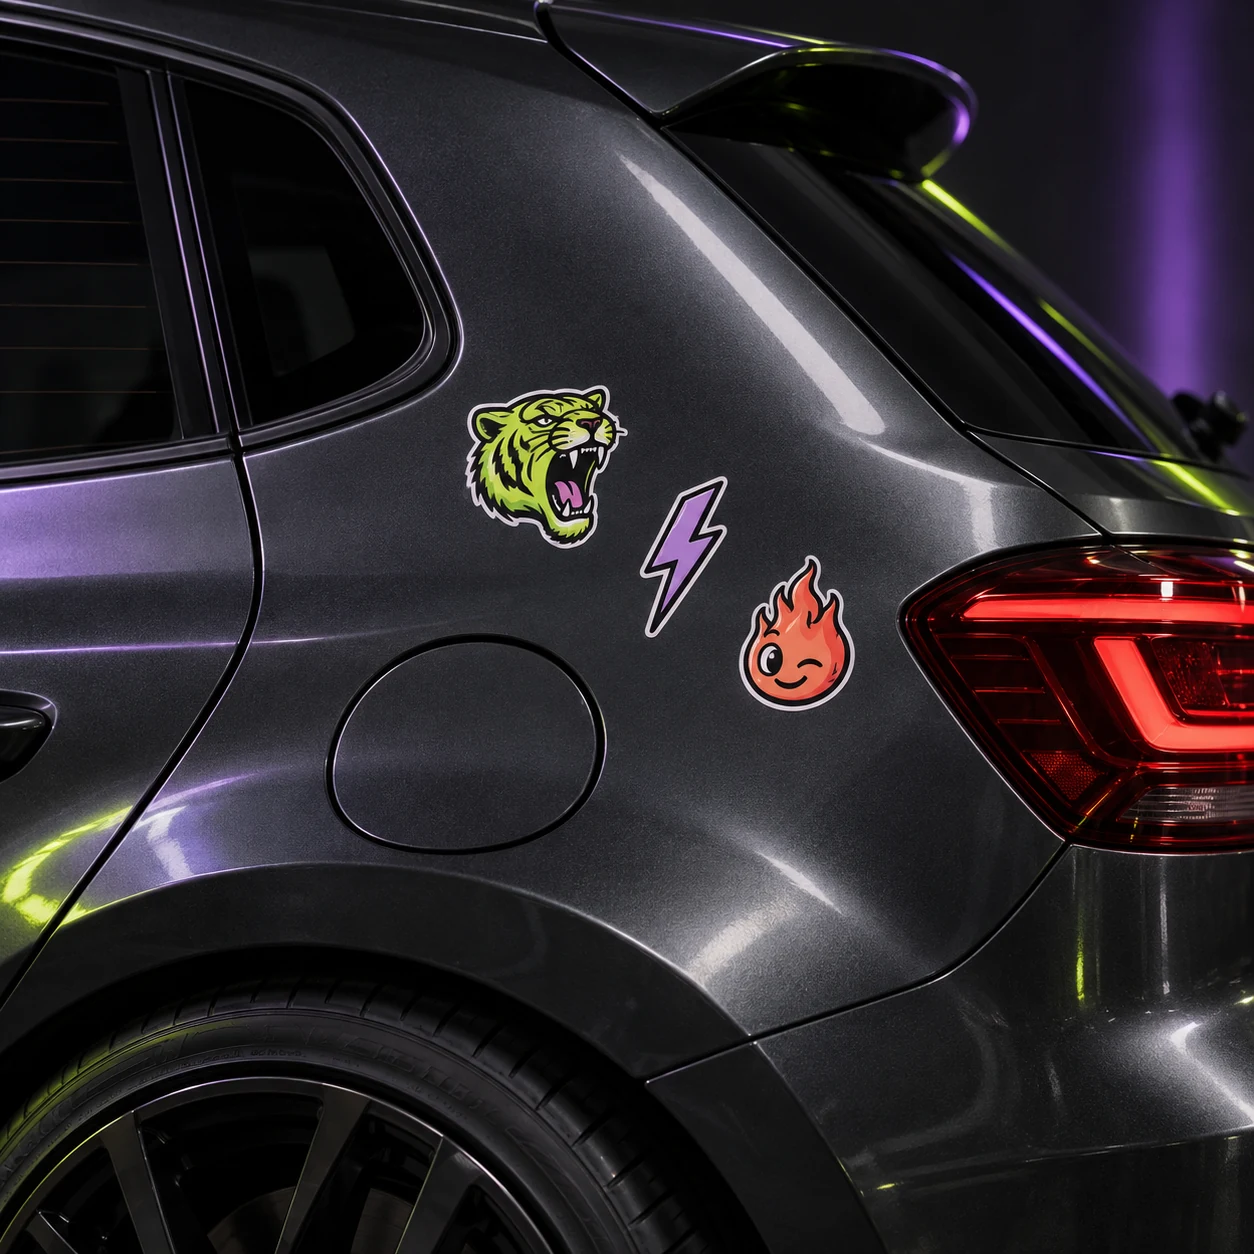
Illustrative scene. Material appearance and application conditions vary.
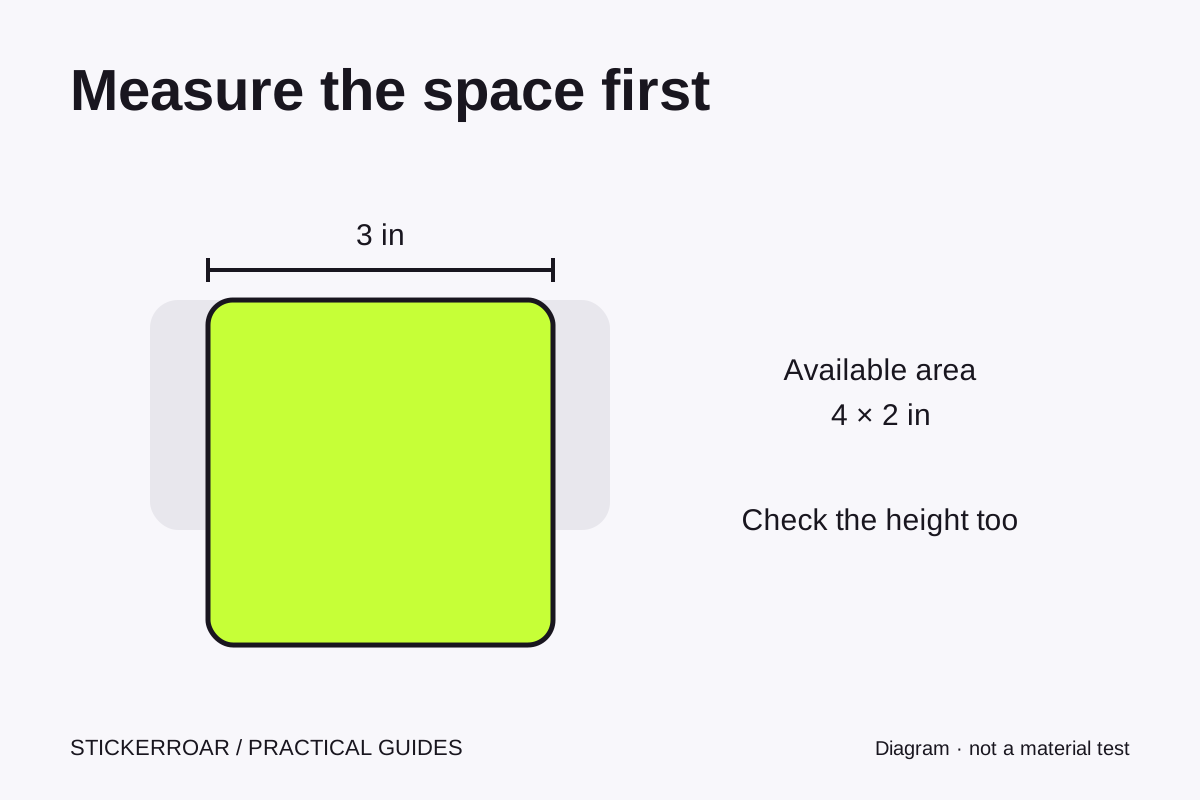
Measure the usable width and height first
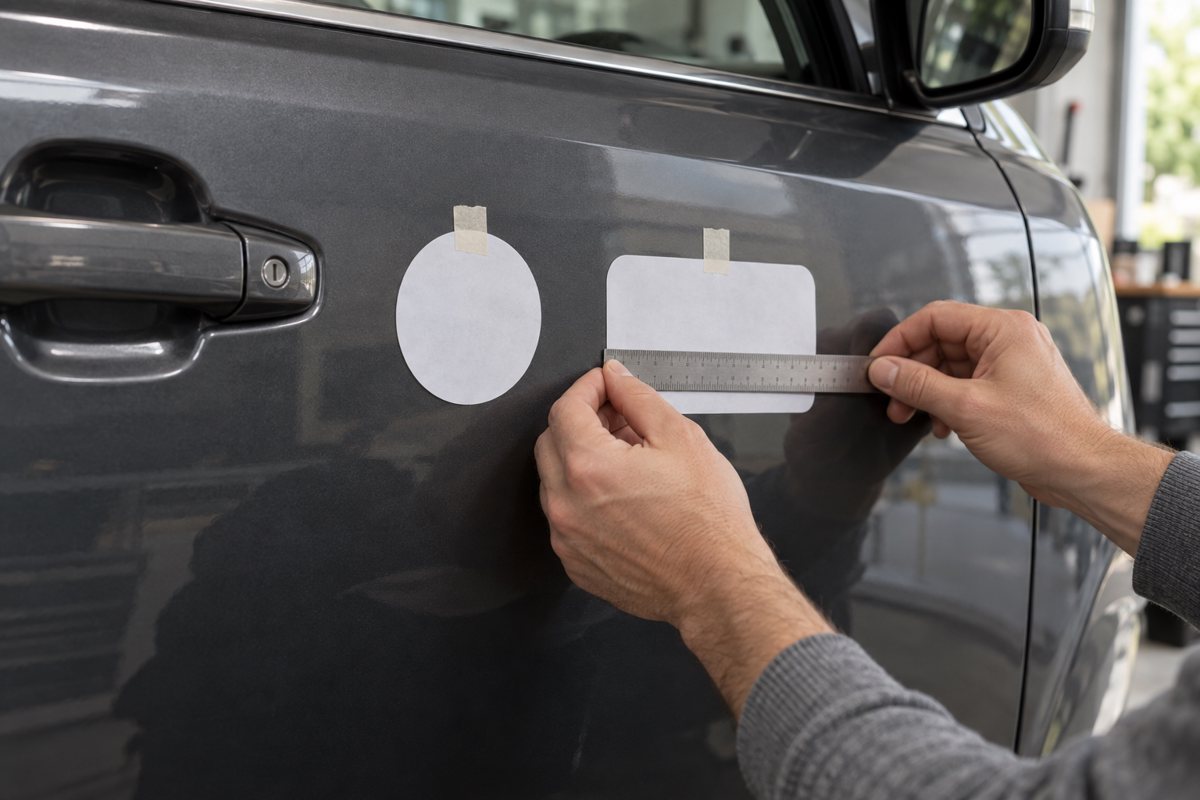
Choose the actual placement and measure its clear, usable width and height with a ruler or tape measure. Include the complete outer cut shape of the sticker. Leave space around panel edges, handles, seals and strongly curved areas. Do not cover a driver's view, lights, required markings or working sensors.
A car, cup and laptop have different shapes. Measure your own object rather than using the pictured scene as a template. A cup's visible width is not the same as its circumference; a large flat design may not follow a curved surface as shown on screen.
Compare one design at 3, 5 and 8 inches
For a hypothetical finished design with a 2:1 width-to-height ratio, a 3-inch width gives a 1.5-inch height; 5 inches gives 2.5 inches; 8 inches gives 4 inches. Those widths equal 7.62, 12.70 and 20.32 cm. These are arithmetic examples, not recommended sizes for every vehicle.
Keep the artwork unchanged when comparing sizes. The 8-inch version is about 2.67 times as wide as the 3-inch version. Tiny letters and line gaps grow with the design, but increasing the size does not recover detail missing from a low-resolution source file.
Understand the product page's size setting
The current ready-made product slider displays a square size, such as 5 × 5 in, and moves in 1-inch steps from 1 to 100 inches. This is the configured preview area. A wide or tall illustration may occupy only part of it. Do not assume a 5 × 5 in setting means every printed artwork is exactly five inches wide and five inches tall.
Before production, confirm the actual outer cut width and height, including any border and any intended spaces. If a design is described by its longest edge, ask for the other dimension as well. In the custom editor, review the width and height fields and the final outline together.
Make a full-size paper mockup
Draw or print the confirmed outer dimensions on paper at 100% scale with page fitting disabled. Measure the paper result with a ruler. Hold it at the intended placement, then check the edges, curvature and lettering from the distance where it will normally be viewed. Paper checks fit and readability; it does not test the adhesive or material.
Use the scenes as a second check
Open a ready-made car sticker, choose Car, Window, Cup or Laptop, and drag the slider. The scene changes with the configured size and warns when it is too large for the pictured surface. Those surfaces are illustrative and do not share the dimensions of every real object.
For example, compare the full spread of the dandelion and birds, including the furthest bird. For your own artwork, open the custom editor. Large settings can be previewed even when an online price is unavailable; use the inquiry option for a reviewed quote.
Submit an order request without payment. Confirm finished dimensions, quantity, material and delivery before production; the size of a screen preview alone is not a production measurement.