THE STICKERROAR GUIDE
Car Sticker Before and After: Plan and Photograph the Change
Compare an illustrated car-panel layout before and after adding a sticker, then use the photo checklist to record your own result at the same angle and scale.
Updated
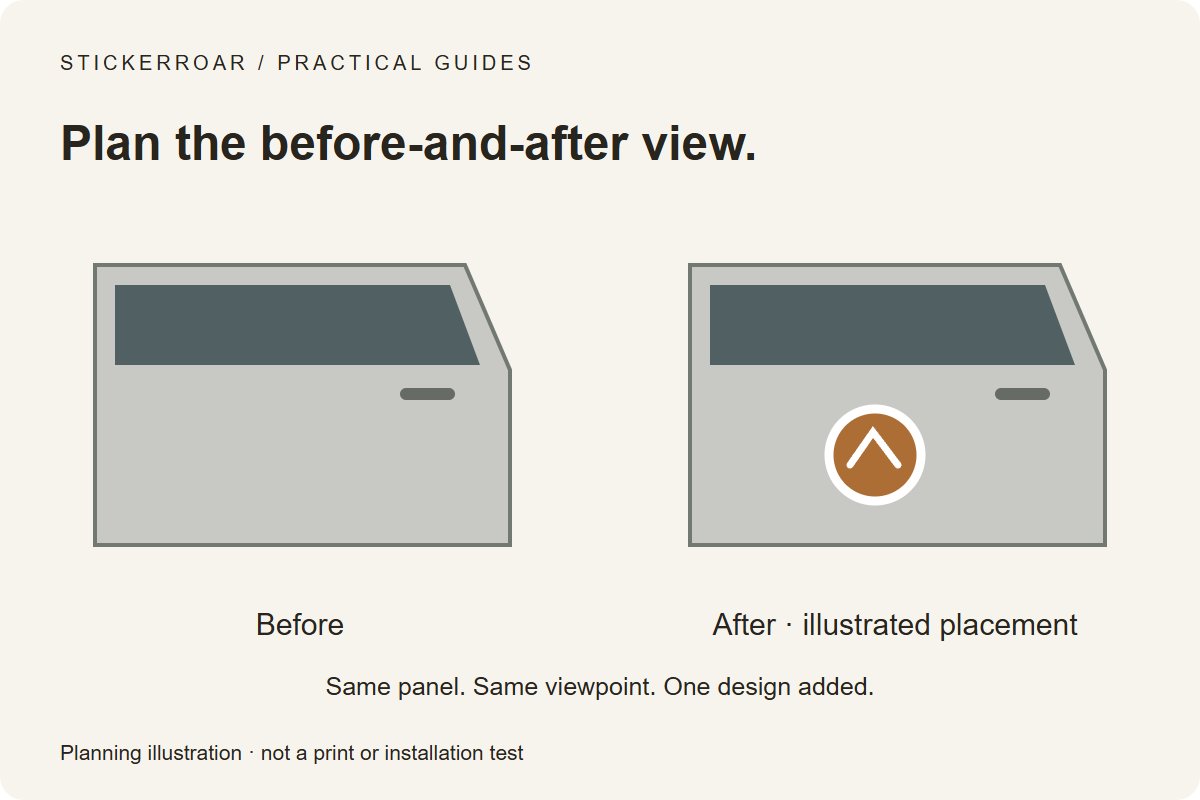
Planning diagram. View the full-size guide.
Compare the same panel before and after
The illustration above keeps the door shape, viewpoint and background unchanged. Only the example sticker is added. This makes the intended placement easy to compare. It is a planning illustration, not a customer's before-and-after photograph, an adhesive test or a scale recommendation for your vehicle.
For your own design, open a product page and compare its Car and Window previews. Check your actual available space with a tape measure as well: the preview scene is illustrative and cannot establish the dimensions or suitability of your own vehicle surface.
Set up two photographs you can compare
- Before: frame the whole placement area with a fixed reference, such as a panel edge or handle. Photograph a close-up too if surface condition matters.
- After: stand at the same position and use the same camera zoom, orientation and framing. Include the same reference in the frame.
- Light: use similar lighting and exposure. A shaded before image and a sunlit after image do not provide a reliable color comparison.
- Notes: record the date, chosen size, material and what changed. Keep a separate original copy of each image.
Do not cover a driver's view, lights, required markings, moving parts or working sensors. Confirm that the intended material and application method are appropriate for your particular surface before applying anything.
Keep size and framing honest
Suppose a hypothetical graphic is 5 inches wide. Keep that width unchanged when placing it into two digital mockups of the same measured area. Enlarging only the after image can exaggerate the change. A mockup remains a simulation, even when its measurements are carefully set.
For an actual installation, use the same framing rather than resizing the sticker in an edited photograph. If you crop a comparison, crop both images consistently. See the car sticker size guide for paper-template checks before ordering.
A simple record to copy
- Before photo date and lighting:
- After photo date and lighting:
- Sticker design and confirmed outer width × height:
- Material and placement surface:
- Camera position or fixed reference:
- Observed difference or question:
Photographs can document placement and visible changes. They cannot prove long-term durability, paint safety, adhesion strength or the absence of residue. Those claims need appropriate evidence of their own.
Choose the design for your comparison
Browse car sticker designs or animal car stickers, then use the product's size and scene controls to plan the composition. For your own graphic, open the sticker editor. Submit an order request without online payment and confirm final dimensions, material and delivery before production.