THE STICKERROAR GUIDE
Making a Full-Size Paper Sticker Mockup
Make and label full-size paper sticker mockups. Verify printer scale, compare two sizes consistently and record the chosen footprint without assuming material fit.
Updated
What this simple test can tell you
A paper mockup answers a useful question: does the proposed width and height look right in the intended location? It cannot establish how a PVC sticker will adhere, bend, survive washing or look in a particular finish. Keep those questions separate so a convincing size test does not become an unsupported material claim.
Start with the dimensions shown on the product page, a ruler, plain paper and scissors. For an irregular design, use its finished rectangular footprint first. This keeps the widest and tallest parts visible in your plan even if the artwork does not fill every corner.
Draw the dimensions instead of guessing
For a 3 × 3 inch sticker, draw a 76.2 × 76.2 mm square. For a 4 × 2 inch sticker, draw a 101.6 × 50.8 mm rectangle. These conversions use 25.4 mm per inch. Mark the width and height outside the rectangle so you can still read them after comparing positions.
If you print an outline, check the result with a ruler. Printer settings such as “fit to page” can resize the file. A PDF or screenshot shown at 100% on a screen is not proof that the printed paper has the requested dimensions. The ruler check is the part that makes this a full-size test.
Compare two candidates
- Make one template for your first choice and another for the next candidate size.
- Label each template before placing it near the surface.
- Hold each one in the same location and view from the same distance.
- Check the closest seam, edge, badge or moving part, not just the center of the design.
- Choose the size that fits the available space without relying on the photograph's perspective.
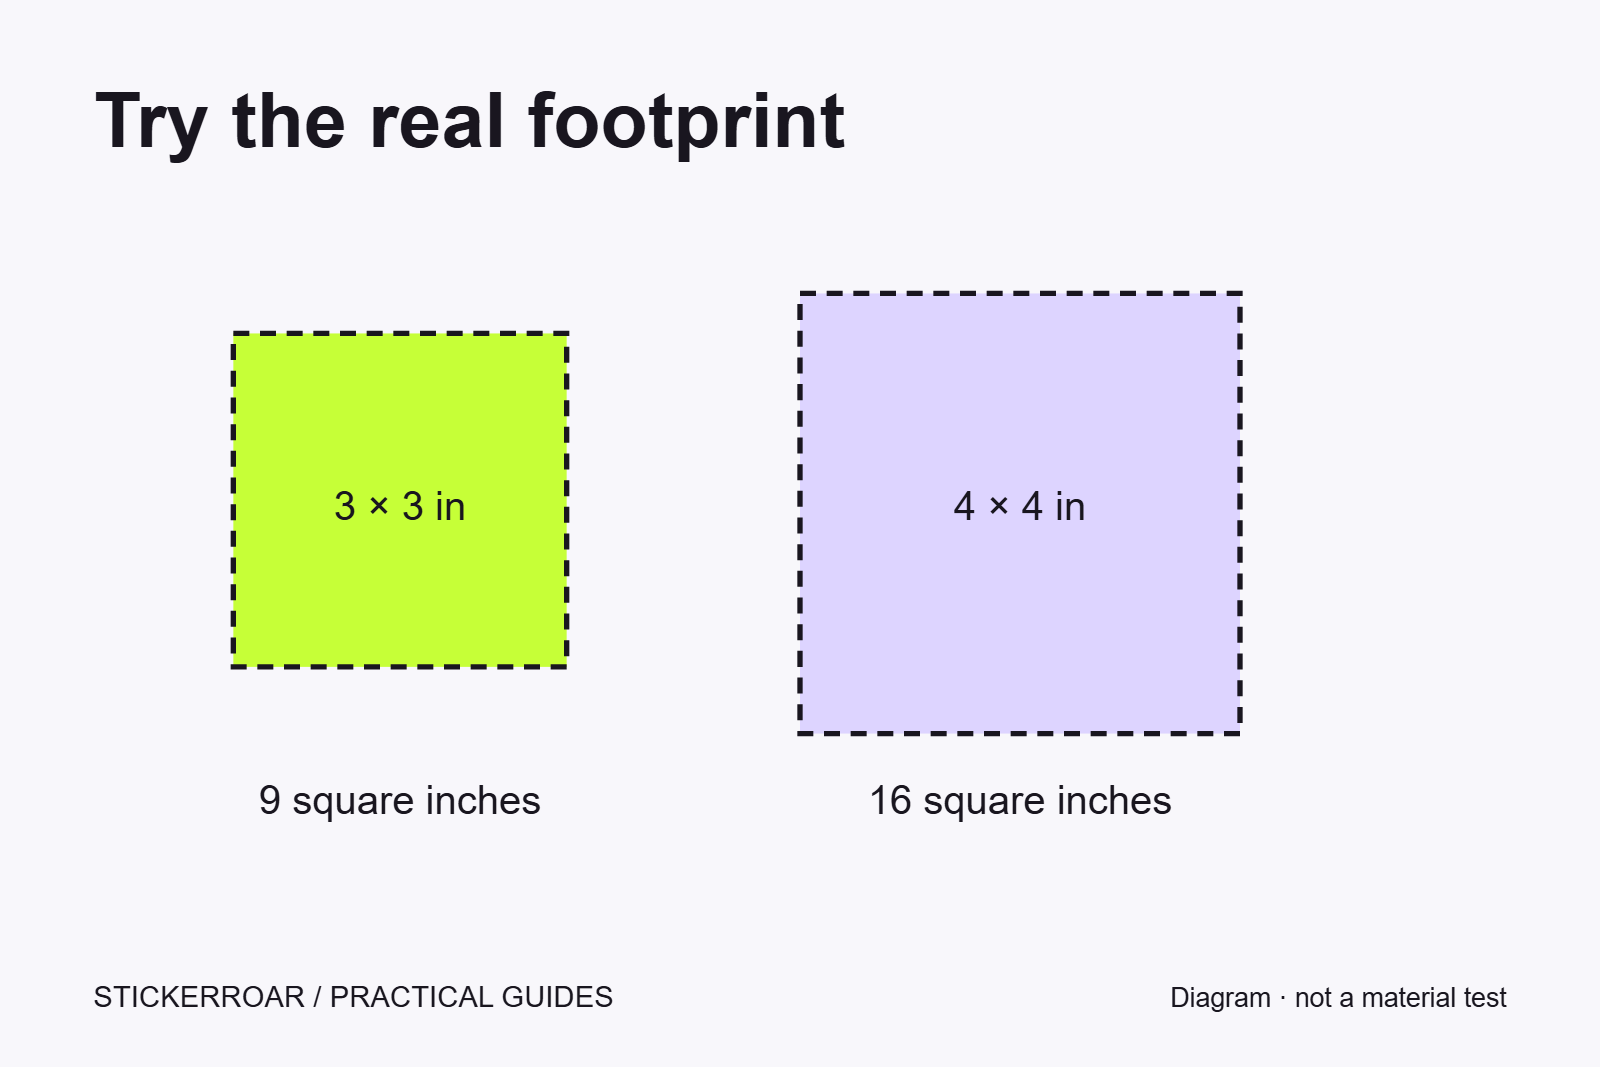
An increase from 3 inches to 4 inches is one third more width. For a square frame, its area increases from 9 to 16 square inches, about 78%. That is why a one-inch step can look much larger than expected. The paper comparison makes the difference visible without buying both sizes.
Keep the test honest
Do not bend paper over a compound curve and assume the real material will behave identically. A template that wrinkles highlights a question to resolve, rather than proving the sticker will fail or succeed. Do not attach an adhesive template to a delicate finish merely to test size; holding it in position is enough for the measurement exercise.
Record the chosen width and height in your order notes. Use our scene previews for composition and the actual object for measurement. If neither available size works, use the product's custom quote form and describe the usable space.
This guide explains the current StickerRoar workflow. The cover compares 3-inch and 4-inch square footprints schematically; it is not a printable template at actual size or a physical material test. Draw or print your own template and check it with a ruler.
Add a scale check and a decision label
If you prepare a printable sheet, include a separate reference line with a known length, such as 1 inch, and measure it after printing. Also measure the template itself. A correct reference line helps catch automatic page scaling, while the second measurement confirms you drew or exported the intended footprint.
Label each candidate with its width, height and artwork version. Place the labels outside the shape where possible. For a pair of alternatives, use A and B and photograph them from the same position while someone holds them in place. The photograph records the comparison; the ruler measurements remain the source of scale.
Keep a short decision note such as: A fits within the available height, B places the top point too close to the seam. If both fit, record which makes the important lettering easier to read. This makes the test useful later when you return to the order form, rather than leaving two unlabeled paper shapes and a vague memory of which looked better.
Continue the checks
Prepare the reviewed artwork through custom car stickers. Final specifications require confirmation before production.