THE STICKERROAR GUIDE
Why Application Instructions Must Match the Material
Plan the position, identify the surface and follow the instructions for the supplied car sticker. Check preparation, application steps and aftercare before peeling.
Updated

How to apply a car sticker: choose the right instructions first
For a small printed sticker, plan the position with the backing still attached, prepare the approved surface, then follow the supplied instructions for exposing the adhesive and applying pressure. Confirm the material, surface and application conditions before peeling. A sticker that uses transfer tape, a vehicle wrap and a printed contour-cut sticker can require different handling.
StickerRoar's custom service prints your artwork on flexible PVC and cuts around a chosen outline. The editor's White PVC, Clear and Holographic previews help you select an appearance; they do not specify an installation temperature, a wet-application recipe or a paint-safety guarantee. Obtain the instructions for the material actually supplied before installation.
1. Check the placement with a paper template
Measure the complete width and height, including the border. Cut a paper rectangle to those dimensions and hold it against the intended location while the car is parked. Check door and window movement, panel edges and curves. Keep the driver's view, lights, sensors and moving parts clear.
For example, the square size selected in the custom-car-sticker starter is a starting dimension. A tall character with an irregular outline still needs its complete finished width and height checked. Use the measurement guide before ordering or removing the backing.
2. Match the surface and cleaning method
Identify whether you are working on painted metal, painted plastic, bare glass, window film or another coating. Tell the supplier about a repaint, ceramic coating, damaged clear coat or existing film. A clean-looking surface is not enough to establish compatibility.
Use the cleaner approved for both the graphic and the surface, follow its label, and let the surface dry as instructed. Do not substitute a household solvent or add wax. For a recently repainted panel, ask the paint provider about curing before applying adhesive graphics.
Avery Dennison's application bulletin ties preparation and application conditions to the particular film. Its instructions apply to the specified Avery products; they do not identify the adhesive in a StickerRoar order.
3. Apply gradually using the supplied method
Once the material and surface are confirmed, arrange the tools specified in the instructions and check the permitted air and surface temperatures. Rehearse the position before exposing any adhesive.
For products whose instructions specify dry application, work progressively: expose the instructed amount of backing and use the recommended applicator with controlled, overlapping strokes. Keep the remaining graphic supported. Follow the product's directions for any transfer layer and final edge pressure.
If the sticker folds onto itself, stretches, will not adhere, or traps a bubble you cannot resolve by the approved method, pause and contact the supplier. Do not improvise with a pin, heat gun or soapy water. Wet application is a separate product-specific method, not an automatic cure for bubbles.
4. Check the edges and record the installation
Inspect for lifting edges and creases before putting the vehicle back into use. Follow the supplied waiting period before washing or exposing the graphic to demanding conditions; this guide does not set a universal 24-hour rule. Keep the order reference, material details, application date and a photograph for later care or removal questions.
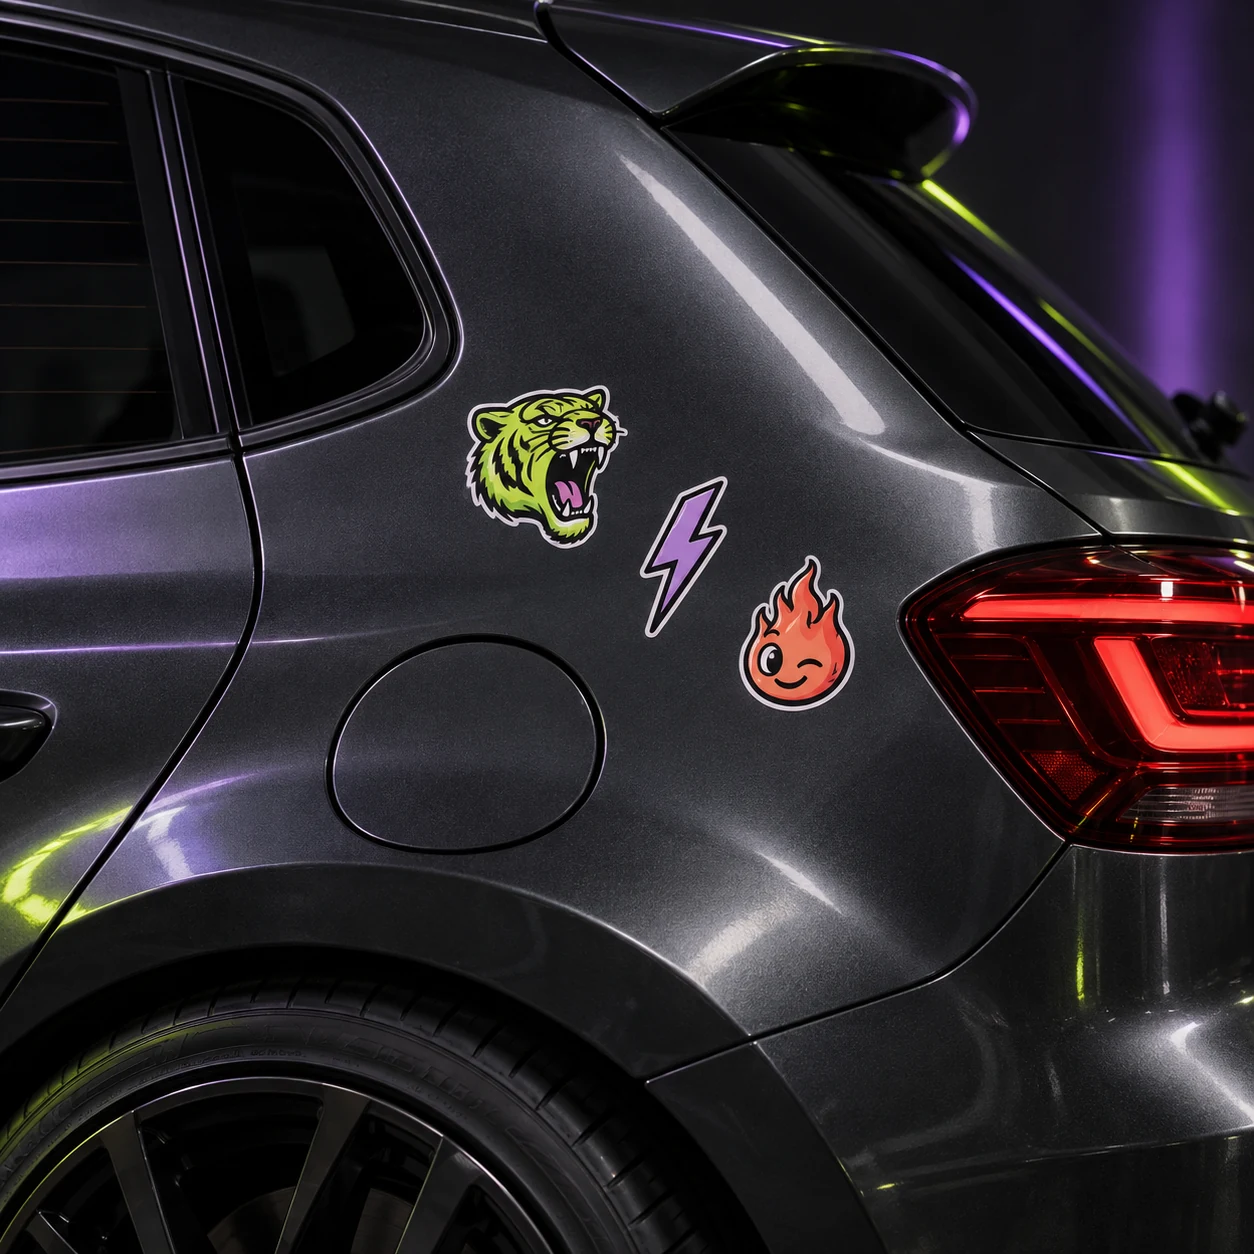
The cover is a catalog artwork example, not an installation photograph. A useful pre-installation message to StickerRoar support is: “My order uses this material and size. The intended surface is this panel or window, with these coatings or repairs. Which cleaning, application and aftercare instructions apply?”
Before proceeding, also read planning for sticker removal. For artwork and size options, return to custom car stickers.