THE STICKERROAR GUIDE
Memorial Car Stickers: Wording, Dates and the Final Proof
Prepare a memorial car sticker with clear wording, verified names and dates, a full-size paper proof and a final artwork check before submitting.
Updated
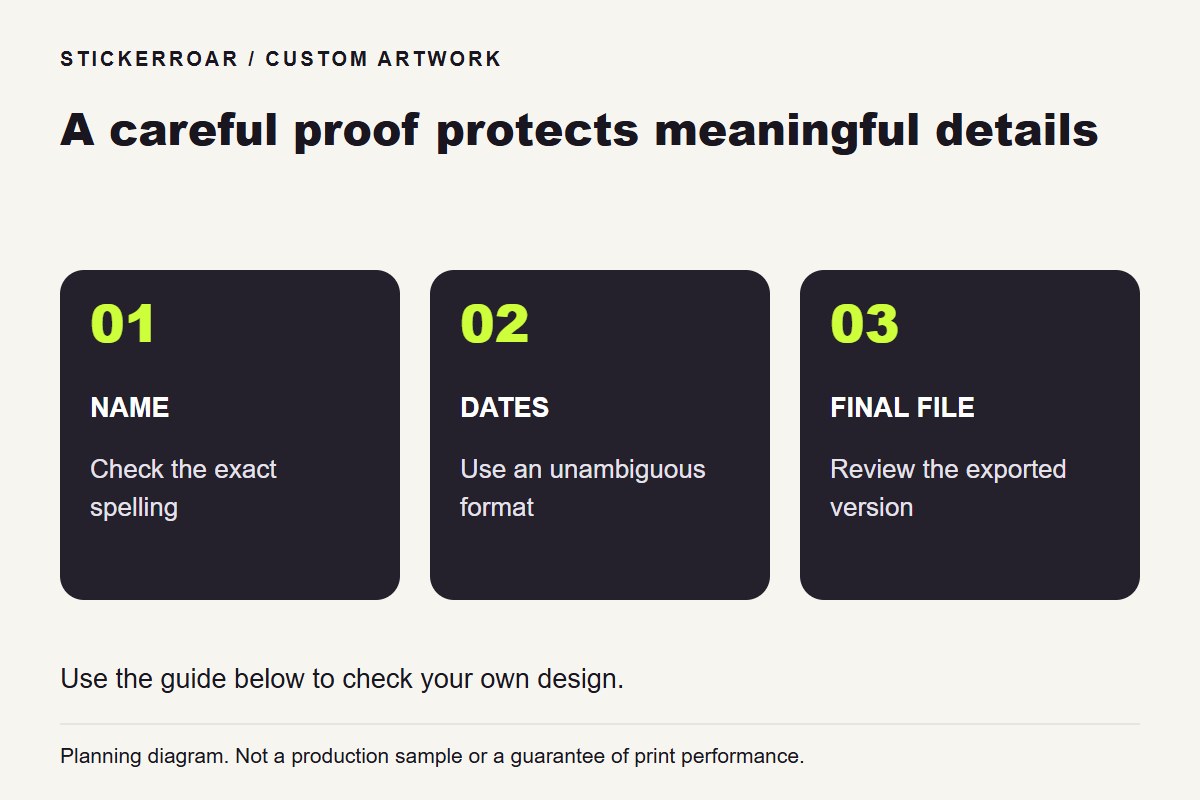
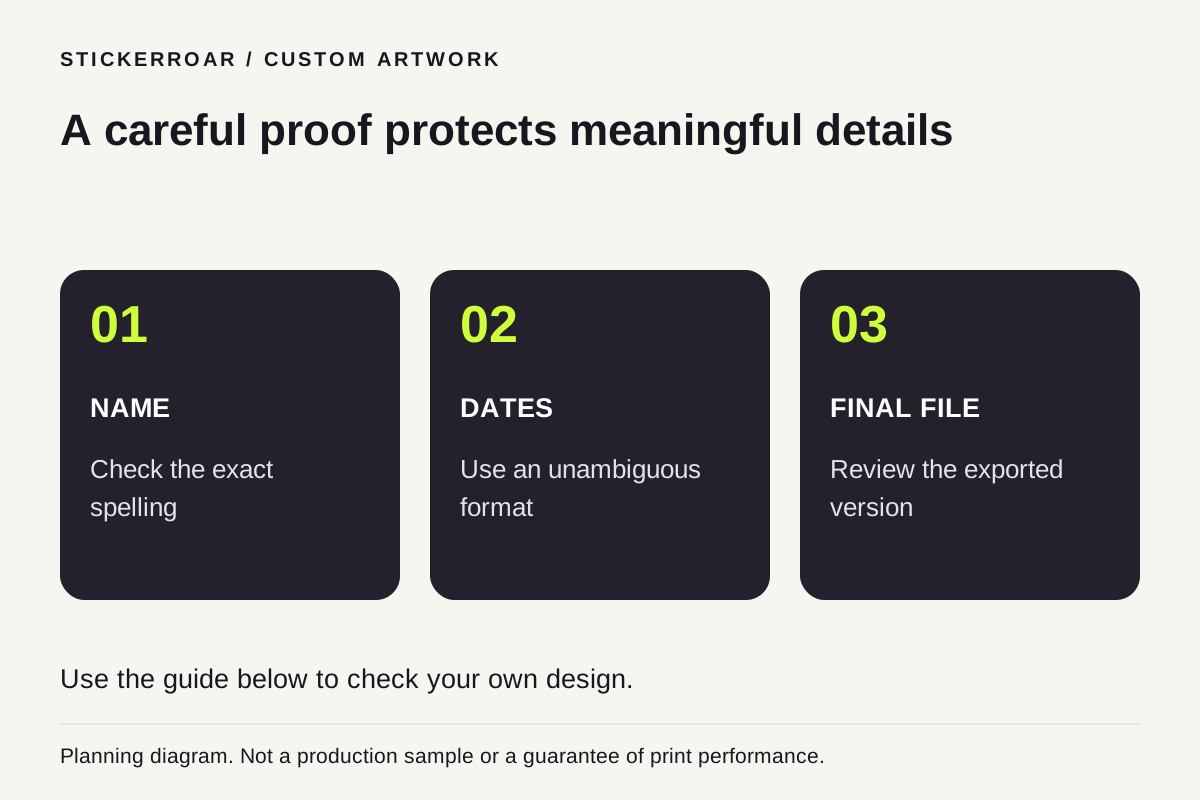
Planning diagram. View the full-size guide.
Begin a memorial car sticker with an approved name, any dates you want to display and a short dedication. Check those details before choosing a portrait, decorative border or typeface. The final export should be readable at its intended size and match the version agreed by the people arranging the tribute.
StickerRoar accepts finished artwork through its custom editor. Prepare the wording and layout before uploading: choosing print options does not compose a dedication, correct a name or verify a date.
Choose what the design needs to say
A name and a short phrase may be enough. A portrait can be the focus if the face matters more than additional wording. Dates are optional; include only the details the people involved want to make public.
These are layout examples with placeholders, not customer memorials:
- A simple text design: “In loving memory of” above
[Name], with[Years]below. - A portrait design: the face above
[Name], followed by “Always remembered.” - A name-focused design:
[Name]with one short dedication and no date line.
Replace every placeholder and review the exact wording before export. If you want a longer verse, compare a larger design or a shorter passage before reducing all the lettering. Readability depends on the particular letters, spacing and finished size; there is no single font size that works for every design.
Verify names and dates outside the artwork
Create a plain-text reference containing the approved details. Check spelling, initials, accents, apostrophes and hyphens against a trusted record agreed by the people involved. Then compare the artwork to that reference character by character.
A date such as 04/05/2001 can be read as April 5 or May 4. If a full date is needed, spelling out the month removes that particular ambiguity. If only the years are intended, keep the design to years instead of adding extra information for decoration.
Ask another trusted person to compare the reference with the artwork. Reading the name and dates aloud can help reveal a missing word or transposed number, but it does not replace checking the written source. Repeat the check after any layout change that moves or retypes the text.
Give the important line enough room
Choose a clear order: dedication, name, then supporting details. The name can be the largest line even when it is longer than the dedication. If it is crowded, try a wider composition or a line break before shrinking the entire design.
Print a paper proof at the proposed outer width and height. Measure it with a ruler and read it from the distance where you expect it to be seen. Check small date characters, spaces between letters and any decorative strokes crossing the name. The sticker size guide explains how to distinguish the artwork's dimensions from a square preview area.
For a portrait, inspect the face separately. Keep the original photo and compare the proposed crop with it. Hair, glasses and a softly lit face can lose definition in an overly small crop. Check the pixels remaining in the crop at the proposed print size; the resolution guide explains the calculation and what to do when the editor shows a warning.
Check white lettering and the intended background
If the design is intended for a dark window, describe which letters or symbols must remain white. Transparent pixels in a PNG do not specify white ink, and selecting Clear does not automatically make an uploaded white rectangle disappear.
Compare White PVC and Clear with the same design. Confirm the material, white-ink requirements and intended mounting side before proceeding. The material preview is a digital aid, not a physical sample. This artwork guide does not establish that a particular film is suitable for tinted glass or that the sticker is meant to be viewed through glass from the opposite side.
Approve the exported file, not just the design screen
Open the final PNG or JPEG outside the design application and check the complete name, date line, accents, portrait crop and outer border. Look for substituted fonts, clipped letters, visible placeholders or a background you intended to remove.
Save the approved export with a clear version name. If a correction is made, replace the approval reference with that version so an older attachment is not used by mistake.
Use the custom car sticker service to review the file, dimensions, material and quantity together. Submit an order request without online payment and keep any production questions with the request. Confirm the final specification before production; a screen preview alone cannot establish the printed appearance or placement suitability.